Our Heat Pump installation process

Installing an air source or ground source heat pump in Norfolk is an excellent way to achieve efficient and eco-friendly heating. To help you understand the process better, see below our step-by-step guide for installing both Ground Source and Air Source heat pumps in Norfolk. By choosing our expert services, you can enjoy reliable, sustainable heating tailored to your property’s needs.
The benefits of a heat pump in Norfolk Energy-efficient heating and cooling solutions for your home or business

Air Source Heat Pump Installation process

Initial Consultation & Site Survey

First, a professional installer from DJB thoroughly assesses your home’s heating needs, insulation levels, and existing heating system. Then, they determine the best location for the outdoor unit. Additionally, they check compatibility with your radiators or underfloor heating to ensure optimal performance and efficiency.

Choosing the Right System

Next is the selection of the appropriate air source heat pump size based on your home’s heat demand. Following that, there is a discussion about efficiency ratings, potential savings, and any available government grants, such as the £7,500 Boiler Upgrade Scheme in the UK. Together, these factors help you make an informed and cost-effective decision.

Outdoor Unit Installation

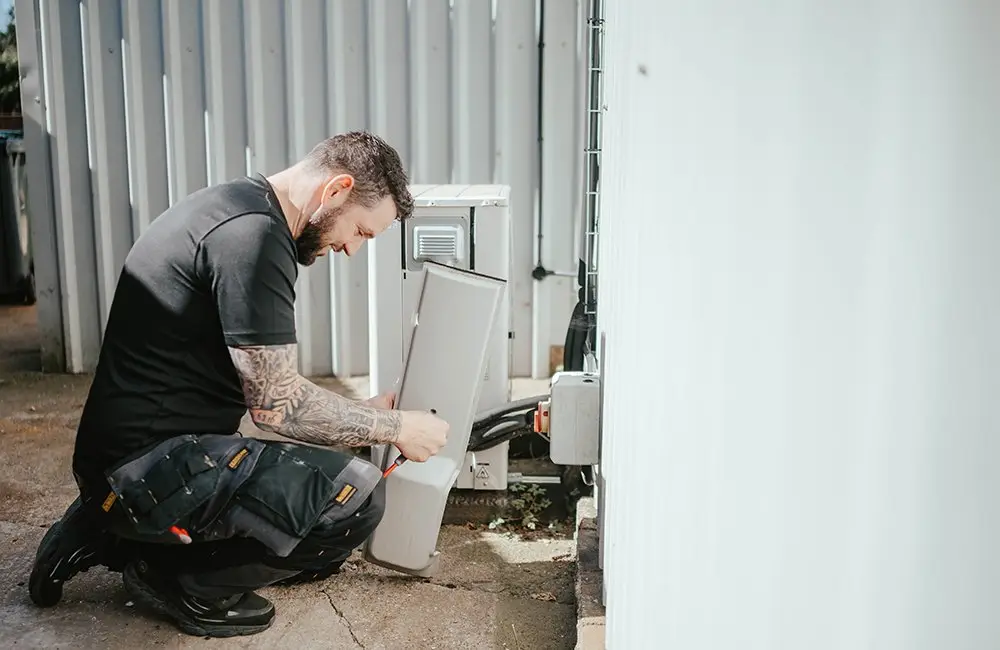
First, the heat pump unit is mounted on an exterior wall or placed on a flat surface. After that, proper clearance is ensured to allow optimal airflow and maximize efficiency. This step is crucial for the unit’s performance and longevity.

Indoor Unit & Pipework Installation

Next, the system is connected to a hot water cylinder, if needed, and integrated with your existing heating system, such as radiators or underfloor heating. Then, refrigerant and water pipes are installed to efficiently transfer heat indoors. Together, these steps ensure optimal heating performance throughout your home.

Electrical & System Setup

First, the unit is wired to your electrical system. Following that, controls and thermostats are installed to enable efficient temperature management. These components work together to ensure your heating system operates effectively and responds to your comfort needs.

Testing & Commissioning

Our engineers first check for leaks, efficiency, and proper functionality. Afterwards, system settings are optimised to ensure maximum performance. Together, these steps guarantee your heat pump operates safely and efficiently.

Handover & User Guidance

Finally, homeowners receive a full demonstration on how to operate the system efficiently. In addition, guidance on maintenance and warranty details is provided to ensure long-term satisfaction and support. This comprehensive approach helps you get the most from your heating system.

How Long Does Installation Take?

1-2 days for most homes, depending on system complexity.

Ground Source Heat Pump Installation process

Initial Consultation & Site Survey

First, a professional DJB installer assesses your property, insulation, and heating requirements. Next, they determine whether a horizontal ground loop (trenches) or vertical boreholes (deeper drilling) is best suited for your site. Additionally, they check compatibility with your existing heating system, whether radiators or underfloor heating, to ensure seamless integration.

System Design & Planning

First, the appropriate heat pump size is selected based on your heat demand. Then, a pipework layout is designed to ensure efficient heat absorption from the ground. Finally, government grant options, such as the £7,500 Boiler Upgrade Scheme in the UK, are discussed to help reduce installation costs.

Groundworks – Pipe Installation

For the Horizontal Ground Loop, trenches measuring 1-2 meters deep are dug, and pipes are laid to collect heat from the soil. Alternatively, Vertical Boreholes involve using drilling equipment to create boreholes up to 100 meters deep, where pipes are then inserted. After installation, these pipes are filled with a heat-transfer fluid that extracts warmth from the ground efficiently.

Heat Pump Unit Installation

The ground source heat pump unit is installed inside the home, typically in a utility room or plant room. Next, it is connected to the ground loop system and integrated with your radiators or underfloor heating. Together, these connections ensure efficient and effective heating throughout your property.

Electrical & Plumbing Connections

The system is wired to the home’s electrical supply. Then, a hot water cylinder is installed, if needed, to provide domestic hot water. Finally, controls and thermostats are set up to ensure optimal efficiency and comfort throughout your home.

System Testing & Commissioning

Engineers check for leaks, pressure levels, and overall system efficiency. Afterward, the system is fine-tuned to ensure maximum heat output and optimal energy savings. Together, these steps guarantee reliable and efficient performance.

Handover & User Guidance

Finally, homeowners receive a full demonstration on how to operate and maintain the system effectively. In addition, warranty details and servicing recommendations are provided to ensure long-term support and peace of mind. This comprehensive guidance helps you get the most from your heating system.

How Long Does Installation Take?

Horizontal Ground Loop: 3-5 days Vertical Boreholes: 7-10 days (longer due to drilling requirements)